Productinformation
The VEW measurement systems can be individual adapted for integration in a production line.
The measurement software “Fringe Processor” has an interface, which allows for controlling the measurement procedure with a superior system. The data can be delivered as raw data, filtered / executed or just an OK / NOK signal.
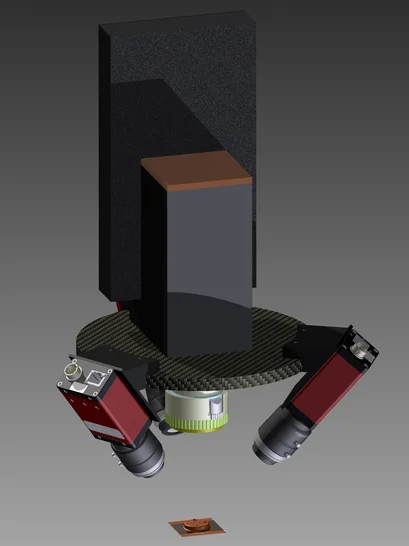
In the images an example for the integration of a fringe projection system into a production line is displayed. The system controls the dimensional accuracy of microformed components.
You have a special application? Describe your problem, we will find a solution.


